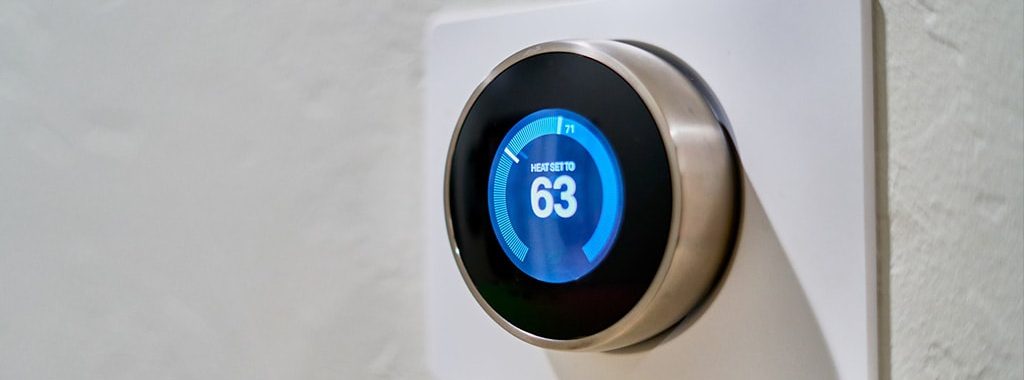
Think it’s time to install a new thermostat?
There are a variety of signs that your old thermostat is going caput. If you have a failing or broken thermostat, it’s definitely time for a replacement. Or maybe you’re just sick of having high energy bills from your HVAC systems and want a fancy new smart thermostat.
No matter the reason for a new install of a thermostat, we’re laying out the steps of how to remove the old and install the new! Follow these steps in order for safety and to have a fully functional thermostat.
1. Choose Your New Thermostat
This is obvious but also necessary. You don’t want to remove an old thermostat that wasn’t working and replace it with a new one that is known to go bad after a couple of years. You also want to ensure that your thermostat will work properly throughout your home.
Research the type of thermostat that you want in your home and decide based on a few factors:
- Is the new thermostat compatible with my current HVAC systems?
- Will the thermostat provide the right comfort for my home?
- Are the reviews of the new thermostat positive?
- Does the thermostat meet manufacturer-specified voltage?
- Do I want wireless connectivity?
Smart/learning thermostats have wireless connectivity to devices such as your smartphone. They also don’t require much attention as they are programmed to learn as you use them. They are a terrific solution for the comfort of homes.
2. Turn Off the Electricity
Before starting on your new thermostat installation, turn the power off to your HVAC systems. Anything that’s connected to your current thermostat should be switched off. You can do this by going to your home’s breaker system and finding your air conditioning unit, furnace, and anything else related to the heating and cooling of your home.
If you are entirely uncomfortable with trying to find the breaker switches to your HVAC systems, you can turn off the main breaker to shut everything down.
You’ll be dealing with loose wires, so it’s better to be safe and turn the power off. You may also turn the power off to your air conditioning and heating units by directly flipping the switches on the units to “off”.
3. Remove the Old Thermostat
This is a 3-part process for removing the old thermostat.
- Remove the face (control unit) to the old thermostat, exposing the wires inside. It should come off fairly easily. If your thermostat runs off of batteries, this is how you’d normally remove the face for battery replacement.
- Disconnect the wires. Remember the placement of the connected wires as you’ll need to reconnect them later on. It’s easier to just take a photo of the wires to save yourself a headache.
- Unscrew and remove the thermostat mounts connected to the base of the thermostat. Remove the base from the wall entirely.
4. Install the New Thermostat
When you install the new thermostat, ensure that you are following the manufacturer’s diagram appropriately for wiring and other specifications.
- Put the base on the wall and thread the circuit wires through the appropriate opening specified on the thermostat base. Make sure the wires are tightened.
- Mount the thermostat base on the wall using the respective screws. Ensure that there are no openings. If there are any openings, plug the hole with appropriate materials that are fire-resistant.
- If necessary, install the batteries to the thermostat’s base.
- Secure the control unit to the base after the base is fully mounted.
5. Turn on the Electricity
Now that you’ve fully secured the thermostat, turn the electricity back on. At this point, everything should be operational. Reset the thermostat to its default settings and ensure that the power is working.
To test your new thermostat, program it to the comfort of your home and turn on the heating or air conditioning unit. If the units aren’t functioning, check the breakers again to ensure they are on. If they still aren’t functioning with the new thermostat, refer to the thermostat instructions from the manufacturer.
It is rare, but sometimes, things can go array when you replace a thermostat. If your newly installed thermostat isn’t working as it should, consult the manufacturer or hire a local HVAC contractor to come out to inspect the situation.
A local HVAC contractor will have much more experience in configuring thermostat installations due to their extensive knowledge of servicing homes in your area. If you’re in Northern Colorado, Good Guys Home Services is always here to help. Contact us today if you need assistance with the installation of your thermostat or any HVAC needs. We’re here to ensure you are always comfortable in your home.

